

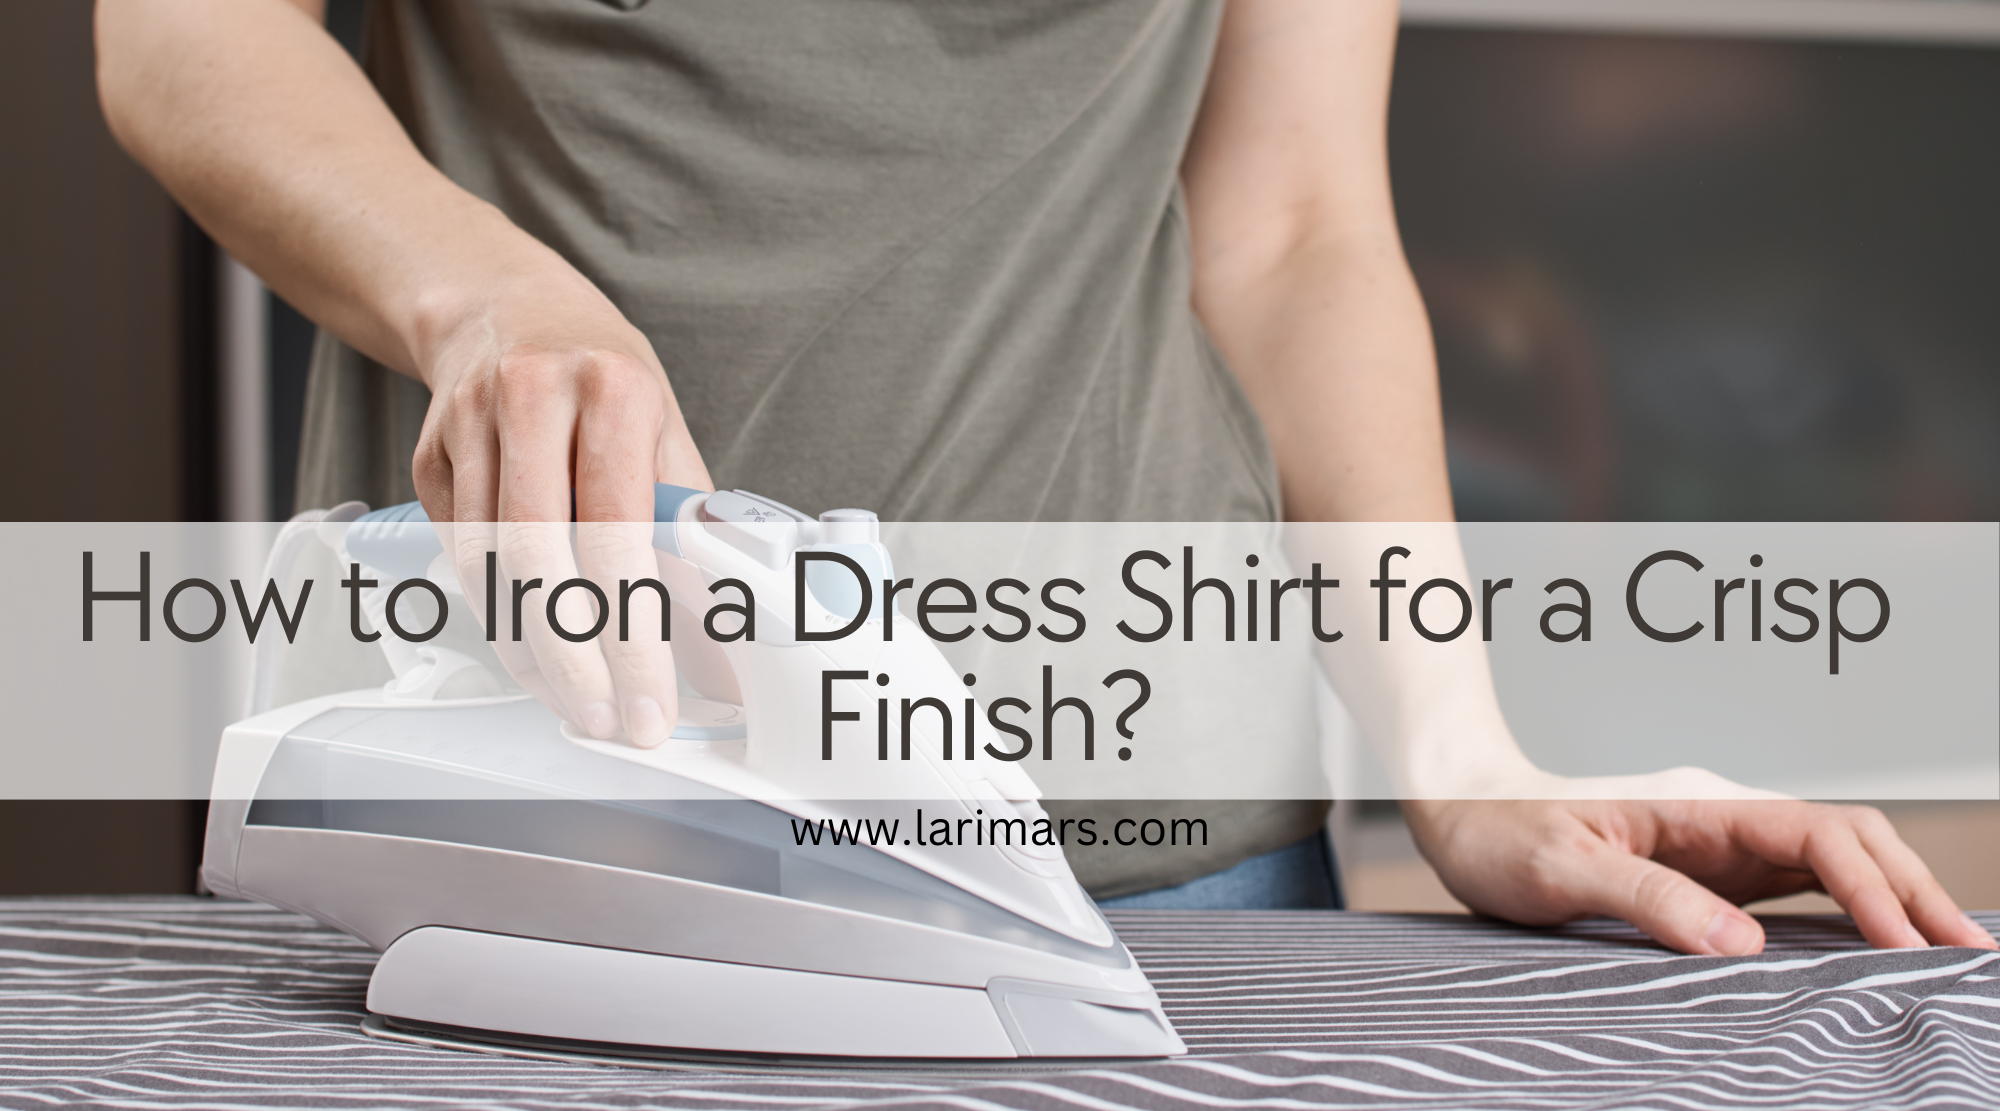
How to Iron a Dress Shirt for a Crisp Finish?
How to Iron a Dress Shirt for a Crisp Finish: A Step-by-Step Guide
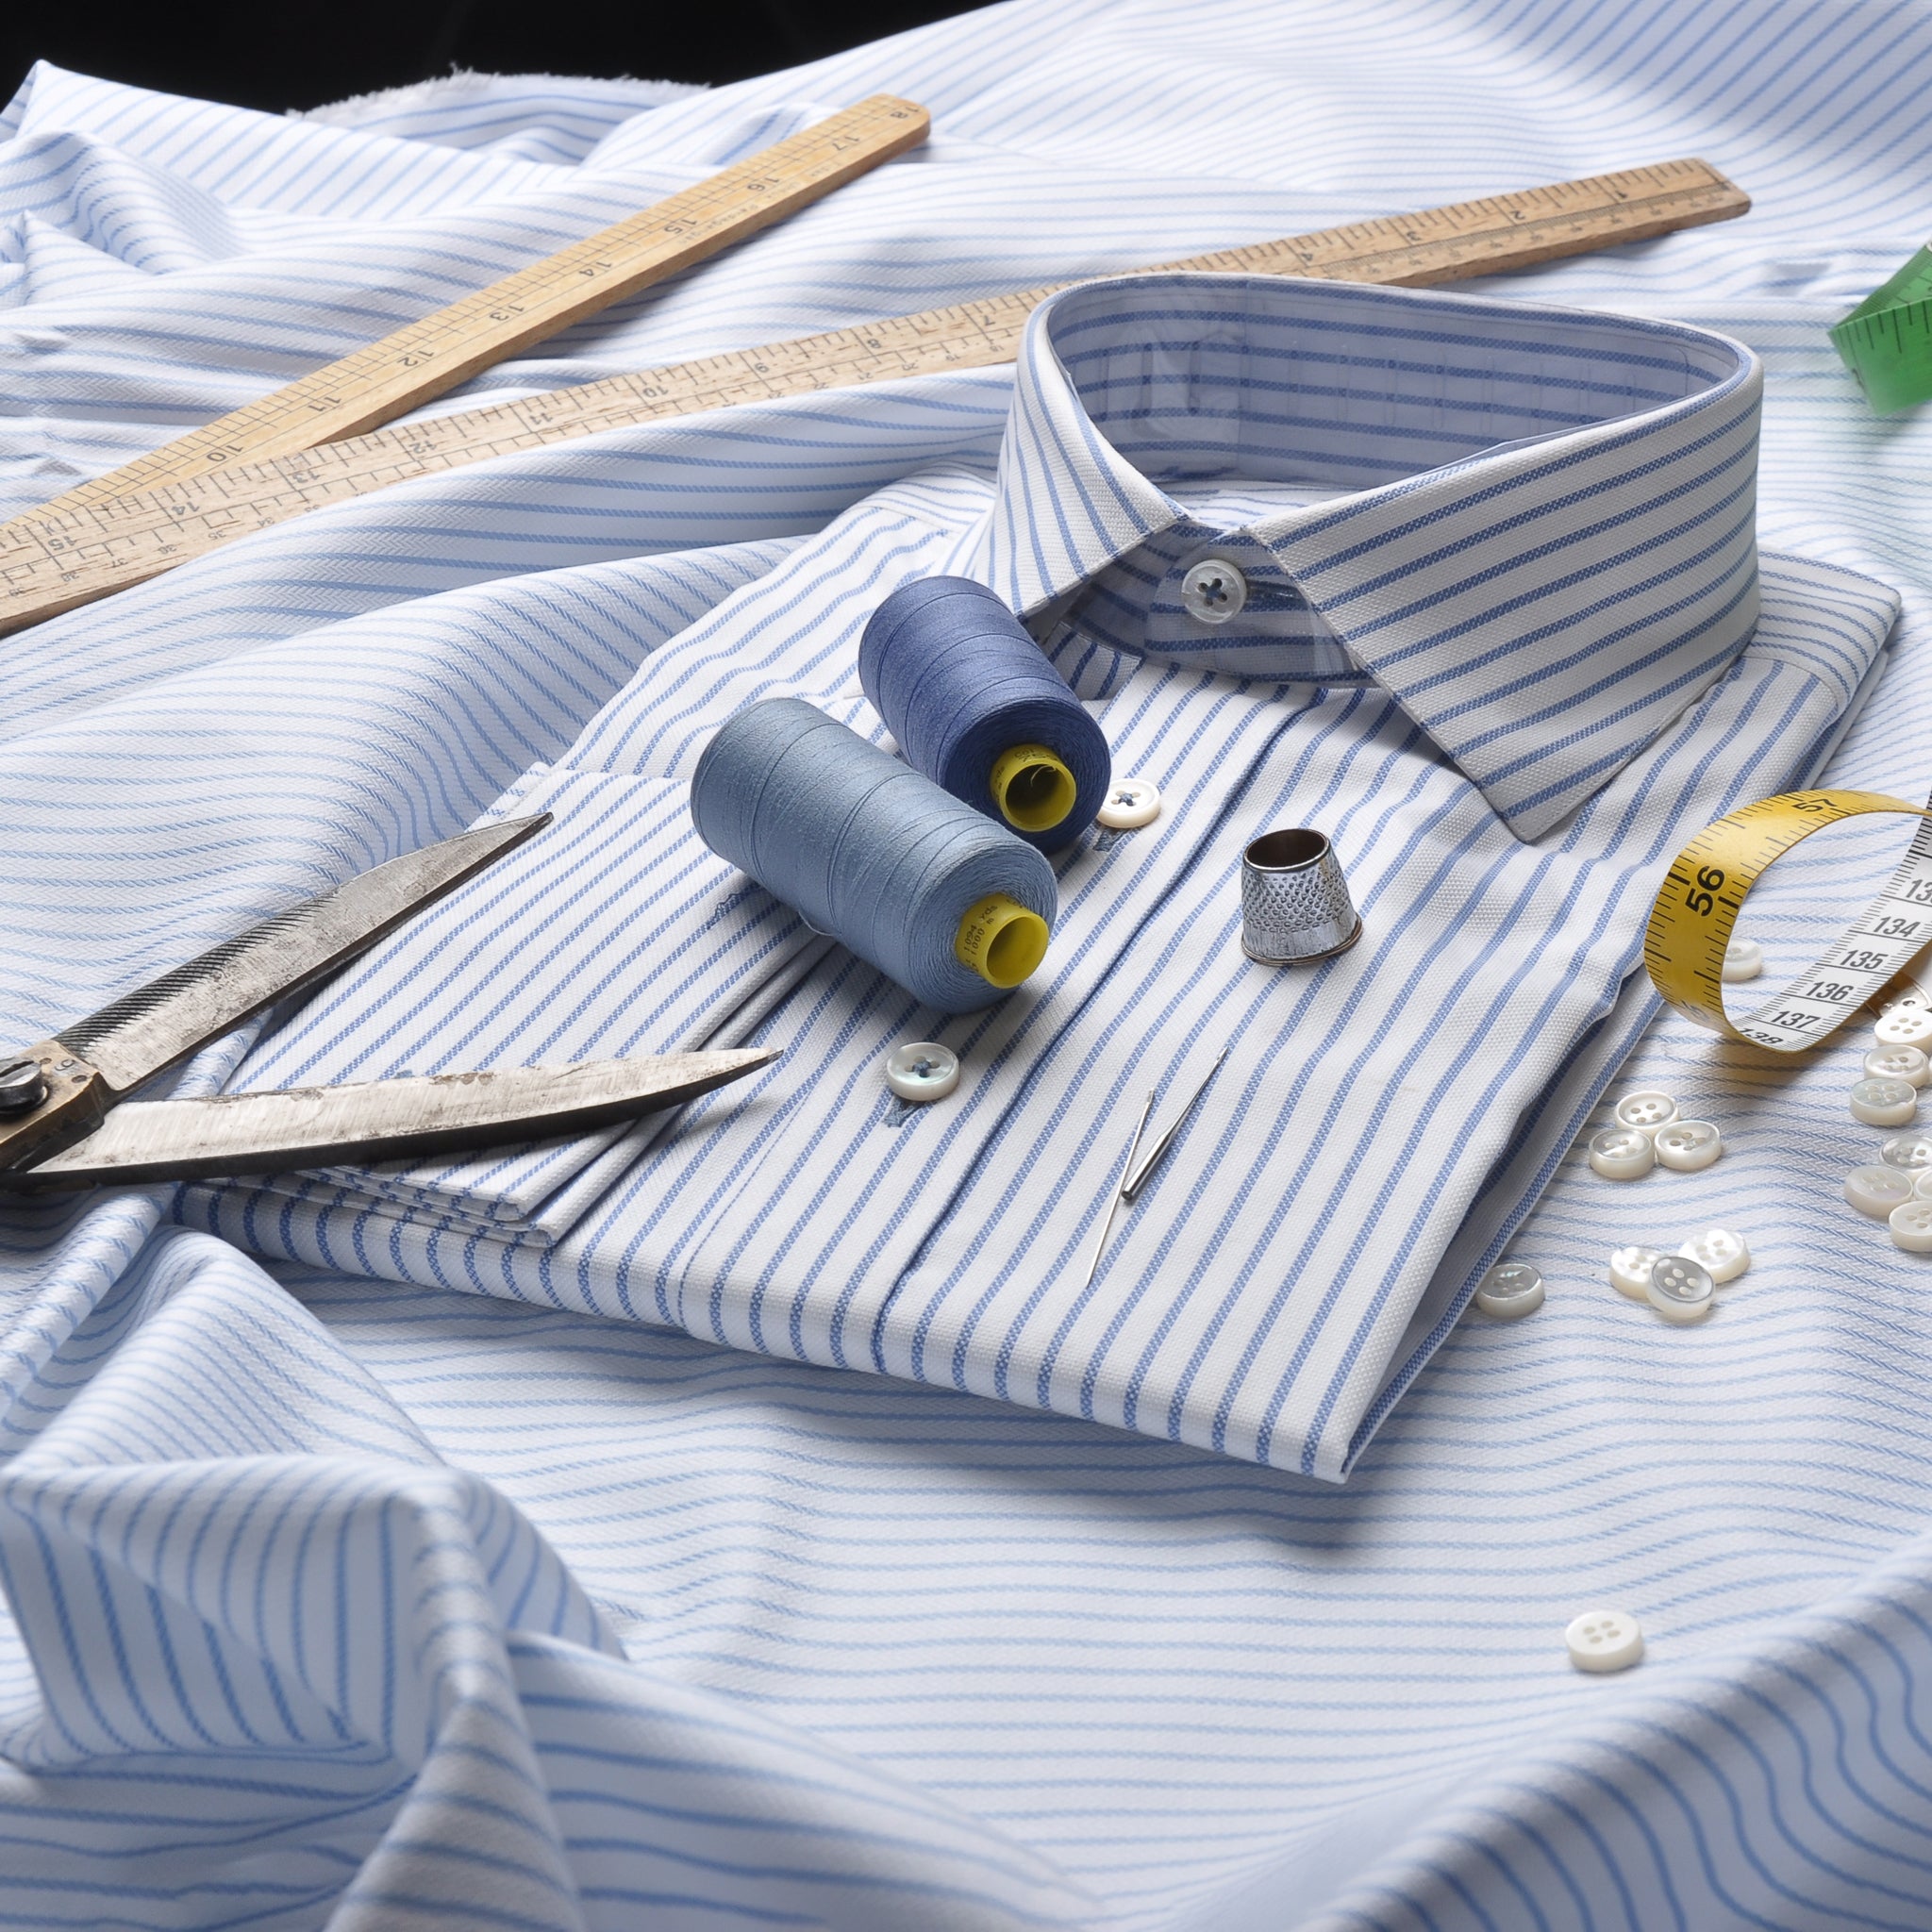
Ironing a shirt can easily get anyone intimidated, especially when it is your first time doing this chore. But as scary as it seems, you can do it conveniently, following the right steps and practicing repeatedly. So, if you have no clue on how to proceed and iron a dress shirt, keep on reading this step-by-step guide. And if you're looking to maintain a polished wardrobe, start with pieces from our carefully curated Formal Shirt Collection designed for both style and ease of care.
Plan Ahead
Before you dive right into pressing the shirt, it is best to think about some things. Here are some things you should look into.
- Always set the iron to the highest steam settings. This will help you get a crisp finish.
- Keep a spray bottle in front of you at the press table.
- Before pressing, work your way around the wrinkles. Make sure the shirt is flat across the table.

Step 1: Set Up the Iron
Now, the first step of pressing your dress shirt is setting up the iron.
- Fill up your iron tank with fresh tap water. Though some people prefer using distilled water, tap water is completely fine. However, if your tap has hard water, you can mix it with distilled water.
- Now, most button-up dress shirts are made up of cotton, which requires a high heat setting. So, check on the care tag of your shirt and set the ideal temperature accordingly. If it is made up of wool, polyester, or silk, do not use high temperatures, as they are fine with medium heat settings.
- Similarly, go to the steam setting and set it to the highest setting. It will give you that crispy finish and smooth out the wrinkles ideally.
- Next, lay down your shirt and spray it with water. Make sure the entire surface is dampened and it has moisture present on it. You can skip this step if it is directly being ironed from washing.
Step 2: Start with the Collar
Proceed further and start pressing the button-up shirt. Start it from the shirt collar, and here is how you can do it.
- Flip your shirt in a way that the collar is upward. Press it down to the table and flatten it out (make sure it has no wrinkles).
- Before that, unbutton the shirt if it is not already.
- Now, glide your iron across the collar of your shirt multiple times.
- Once the front of the collar is smooth and wrinkle-free, flip the collar and pass the iron a few times. Congratulations, both your shirt sides are nice and crispy.
Step 3: Start From the Front
Once the collars are done, you can now start with the prominent part of the shirt, the front and the back.
- Flatten the buttoned side of the shirt against the iron table.
- Tuck the neck of the shirt under the triangle side of the table.
- Make sure the shirt has no wrinkles and it is straight lengthwise on the table.
- Now, glide the press over the shirt a few times.
- Start from the outside horizontally and make your way to the buttons.
- Be mindful not to hit the buttons with your iron, as it can easily rip them apart.
- Make sure to glide the iron between the buttons, as they get really wrinkled.
Now that you are done with the buttoned side of the shirt, it is time to iron the pocket side of the shirt. So, let us proceed with this.
- Turn the shirt over and flatten it against the table just as you did with the front side.
- Tuck the neck over the pointy edge of the table and smooth it lengthwise vertically. Make sure it has no wrinkles.
- This side will have pockets, so make sure you have gone multiple times over the pocket.
- Also, glide the iron over the buttonholes and ensure they are crisp and pressed.

Step 4: Iron the Back
Once the front section of the shirt is completely ironed, go for the back of the shirt.
- Flip the shirt and center the collar at the pointy edge of the table. Make sure it has no wrinkles.
- Start gliding the iron over the shirt’s surface. Work in rows to prevent further wrinkling.
- Do the back in portions, as it is difficult to iron the entire back on the table in one go.
- Now, proceed to the stitched section of the shoulder and adjust it in a way that does not disturb the ironing of the other parts of the shirt.
- Once done, double-check everything, as it often happens that you forget some spots. Hence, it is better that you ensure everything is smooth and crisp.
Step 5: Sleeves and Cuffs
Finally, it is time to make your way to the sleeves and cuffs. And here is how it goes.
- Press the shirt cuffs flat against the table. Before that, make sure to unbutton the cuffs. Keep the cuff section of the shirt in the upward direction.
- Start pressing the inside of the cuff a few times and ensure it has no wrinkles. Using the pointed side of the iron for this is better, as it gets into the arm easily.
- Do not hit the buttons with it to avoid them ripping.
- Flip the sleeves and do the same for the outside of the cuff. Glide the iron over it multiple times.
- Next, spread the sleeves and iron them vertically across the sleeves. Make sure it has no wrinkles and it is seamless.
- If you notice the wrinkles, make your way again to the sleeve.
- Do the same with the other sleeve and make sure everything is smooth and seamless.
Final Thoughts
Are you wondering how to iron a dress shirt so it looks like it is dry-cleaned and steamed by professionals? It is not as challenging and can be completed by following a few tips and tricks. I hope this guide has been helpful in figuring out how to press a button-up shirt for a crispy finish.


Leave a comment
This site is protected by hCaptcha and the hCaptcha Privacy Policy and Terms of Service apply.